Getting Started
OKRunit is a human-in-the-loop approval gateway for automated workflows. When your AI agent, Zapier zap, Make scenario, or CI/CD pipeline is about to perform a destructive or sensitive action, OKRunit pauses execution, notifies the right humans, collects their decision, and delivers the result back to your automation.

How it works
OKRunit sits between your automation and the action it wants to perform. Here's the flow:
- 1Your automation sends a request. This can happen two ways: through a native integration (select the OKRunit node inside Zapier, Make, n8n, etc.) or by calling our REST API directly with a single POST request.
- 2The right people are notified. OKRunit sends notifications via Slack, Discord, Microsoft Teams, email, or Telegram based on your routing rules. Approvers can review and decide from any of these channels or the dashboard.
- 3The decision flows back automatically. When an approver approves or rejects, OKRunit delivers the result back to your automation via an HMAC-signed webhook callback, so your workflow can continue or abort.
Two ways to connect
No-code: Use a platform integration
The easiest way to get started. Inside Zapier, Make.com, n8n, monday.com, or any supported platform, search for the OKRunit node/module. Select it, connect your OKRunit account, and you're done — no code needed.
Code: Use the REST API
For developers and technical users, call our API directly from any language. Create approval requests, poll for decisions, or receive webhook callbacks — all with standard HTTP.
Quick start (no-code)
This is the fastest way to add human approval to an existing workflow. We'll use Zapier as the example, but the flow is identical in Make, n8n, and other supported platforms.
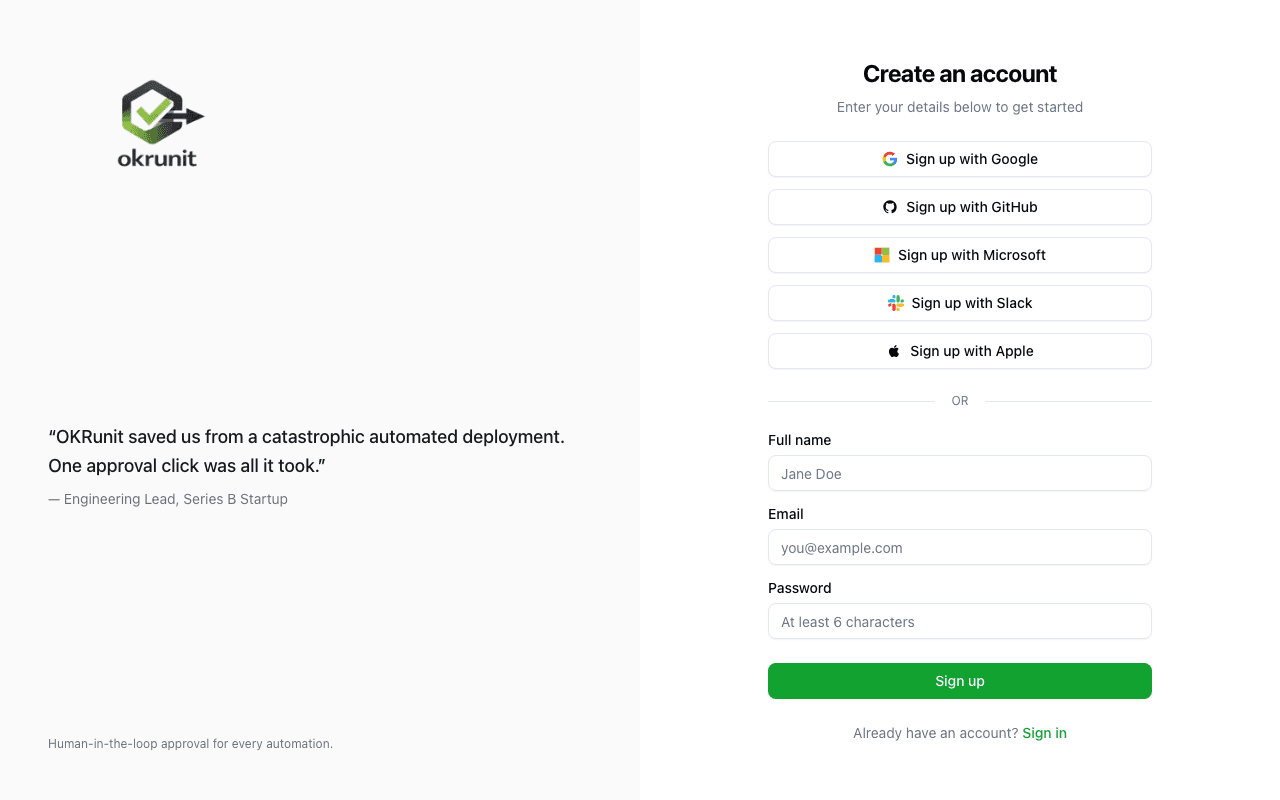
Step 1: Create your OKRunit account
Sign up for free — it takes 30 seconds. You'll get an organization and a free plan with 50 approval requests per month.
Step 2: Open your automation platform and add the OKRunit node
In your automation platform (Zapier, Make, n8n, etc.), add a new step to your workflow and search for "OKRunit". Select the OKRunit action — typically called "Create Approval Request".
When prompted, connect your OKRunit account. The platform will guide you through the OAuth flow — just sign in to OKRunit and authorize access. That's it.
Step 3: Configure the approval request
Fill in the fields the platform shows you:
- •Title — a short description of what needs approval (e.g. "Deploy v2.4.0 to production")
- •Description — additional context for the approver
- •Priority — low, medium, high, or critical
Your workflow will now pause at the OKRunit step until a human approves or rejects. The decision is automatically passed to the next step in your workflow.
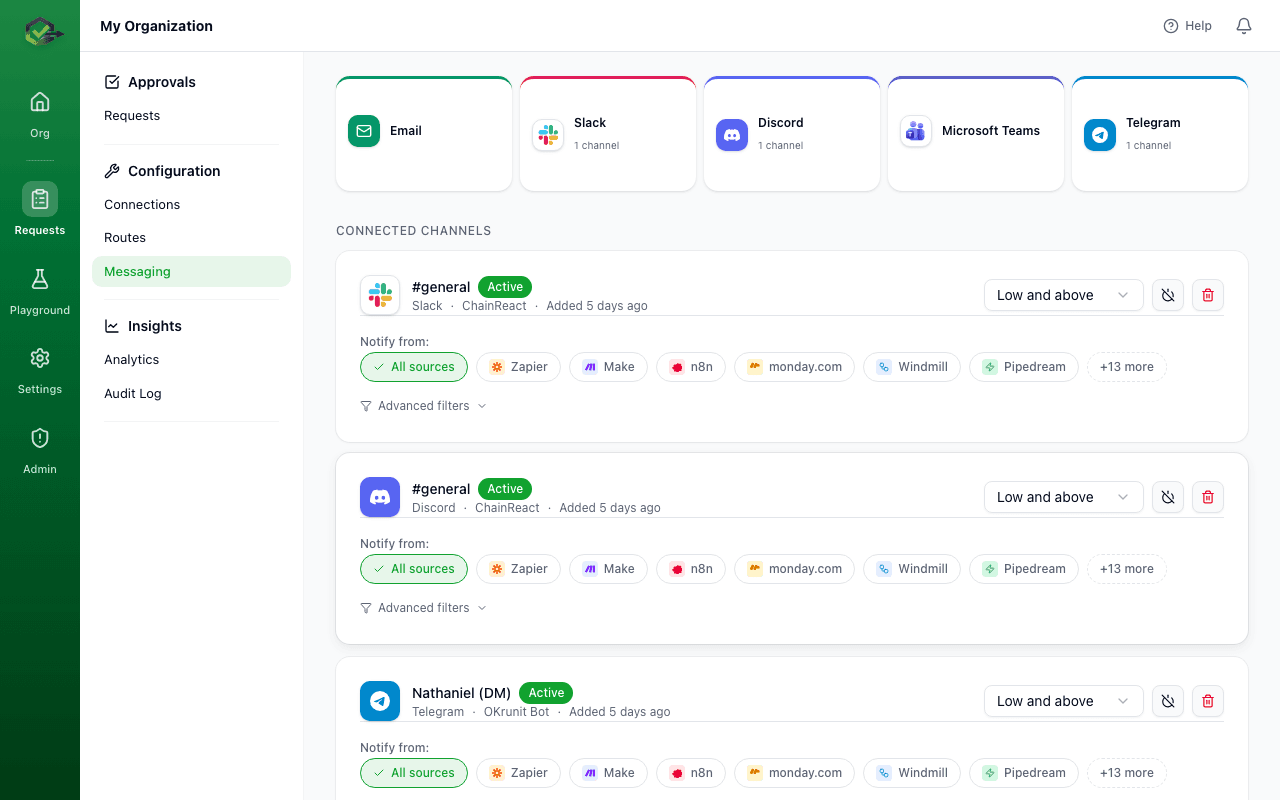
Step 4: Set up notifications
In the OKRunit dashboard, go to Messaging to connect your notification channels (Slack, Discord, Teams, email, or Telegram). Then go to Routes to configure who gets notified for which types of requests.
Quick start (API)
For developers who prefer to work in code, you can integrate OKRunit with a single HTTP request from any language.
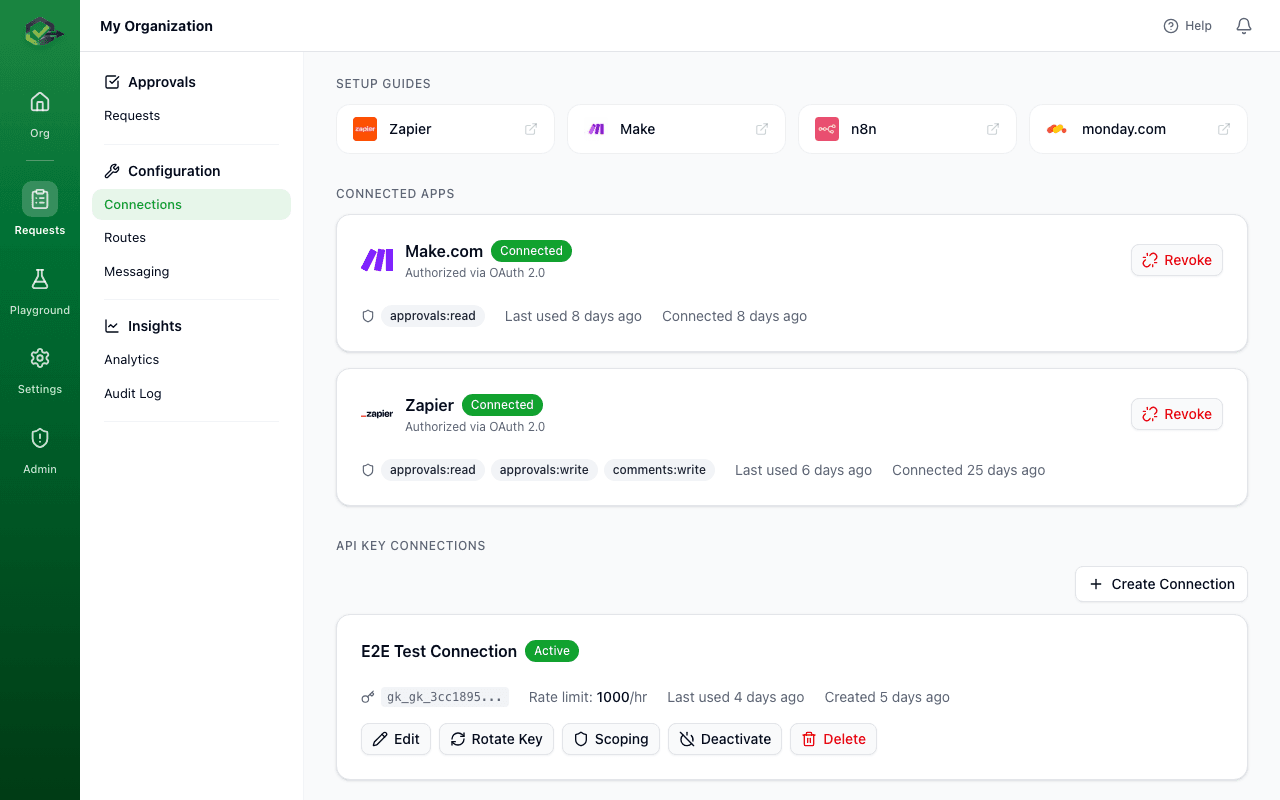
Step 1: Create a connection
Go to Connections in the dashboard and click New Connection. Give it a name (e.g. "Production API") and save. Copy the generated API key — it starts with gk_ and cannot be retrieved again.
Step 2: Send your first approval request
Use your API key to create an approval request:
curl -X POST https://okrunit.com/api/v1/approvals \
  -H "Authorization: Bearer gk_your_api_key_here" \
  -H "Content-Type: application/json" \
  -d '{
    "title": "Deploy v2.4.0 to production",
    "description": "Release includes database migration and new auth flow",
    "priority": "high",
    "callback_url": "https://your-app.com/webhooks/okrunit",
    "metadata": {
      "environment": "production",
      "commit_sha": "abc123"
    }
  }'
The response includes the approval request ID and its current status:
{
  "id": "a1b2c3d4-e5f6-7890-abcd-ef1234567890",
  "title": "Deploy v2.4.0 to production",
  "status": "pending",
  "priority": "high",
  "created_at": "2026-03-24T10:00:00.000Z",
  "expires_at": null
}
Step 3: Receive the decision
You have two options for getting the approval result:
- Callbacks (recommended): Provide a
callback_urlwhen creating the request. OKRunit will POST the decision to your URL with an HMAC-SHA256 signature for verification. See the Webhooks guide. - Polling: Periodically GET
/api/v1/approvals/:idto check the status. Useful for simple scripts or when you cannot expose a public endpoint.
Navigating the dashboard
Once you're set up, here's what each section of the dashboard does:
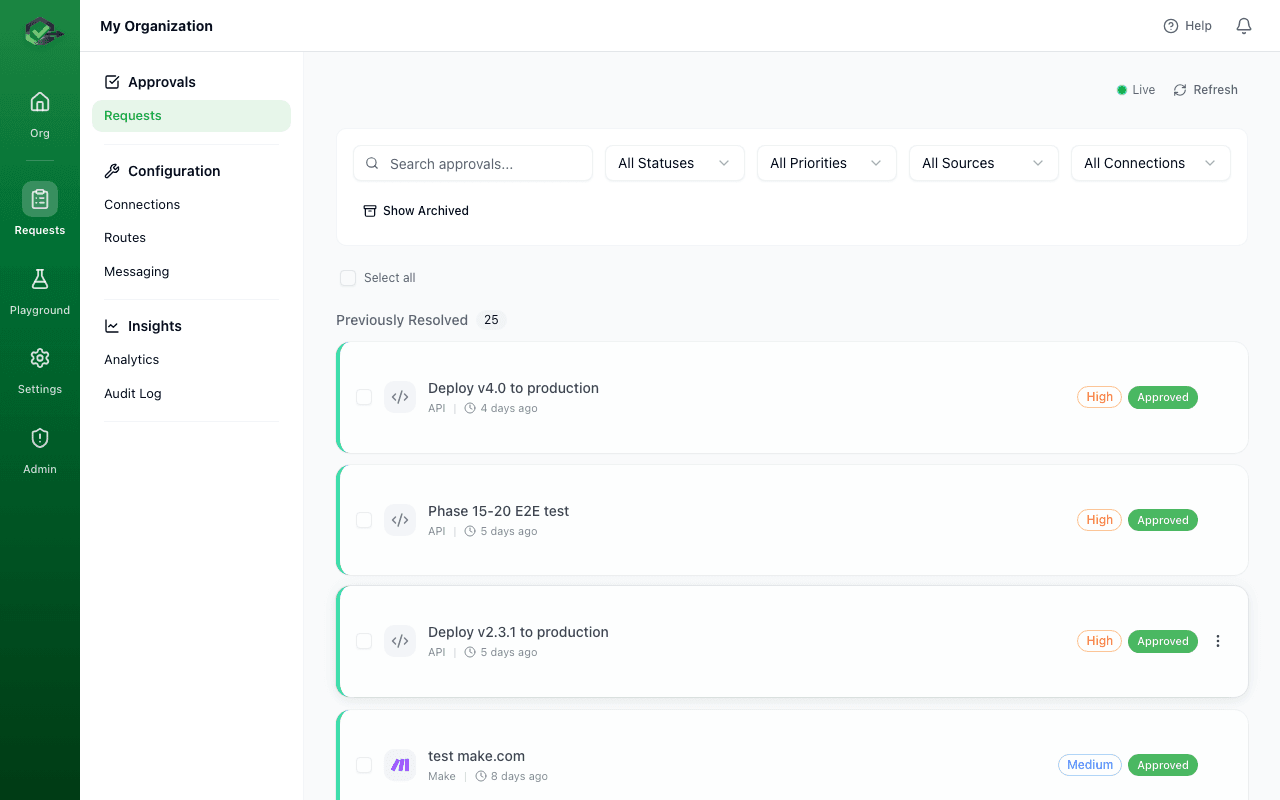
Requests
View, filter, approve, and reject all approval requests. Filter by status (pending, approved, rejected), priority, and source. Click any request to see full details and respond.
Connections
Manage your API keys. Each connection represents an automation source (your CI/CD, Zapier, Make, etc.) with its own API key and rate limits.
Routes
Configure approval flows — set required approvals, choose sequential vs. parallel mode, assign approvers, and set expiration rules.
Messaging
Connect notification channels (Slack, Discord, Teams, email, Telegram) so approvers are instantly notified when a new request comes in.
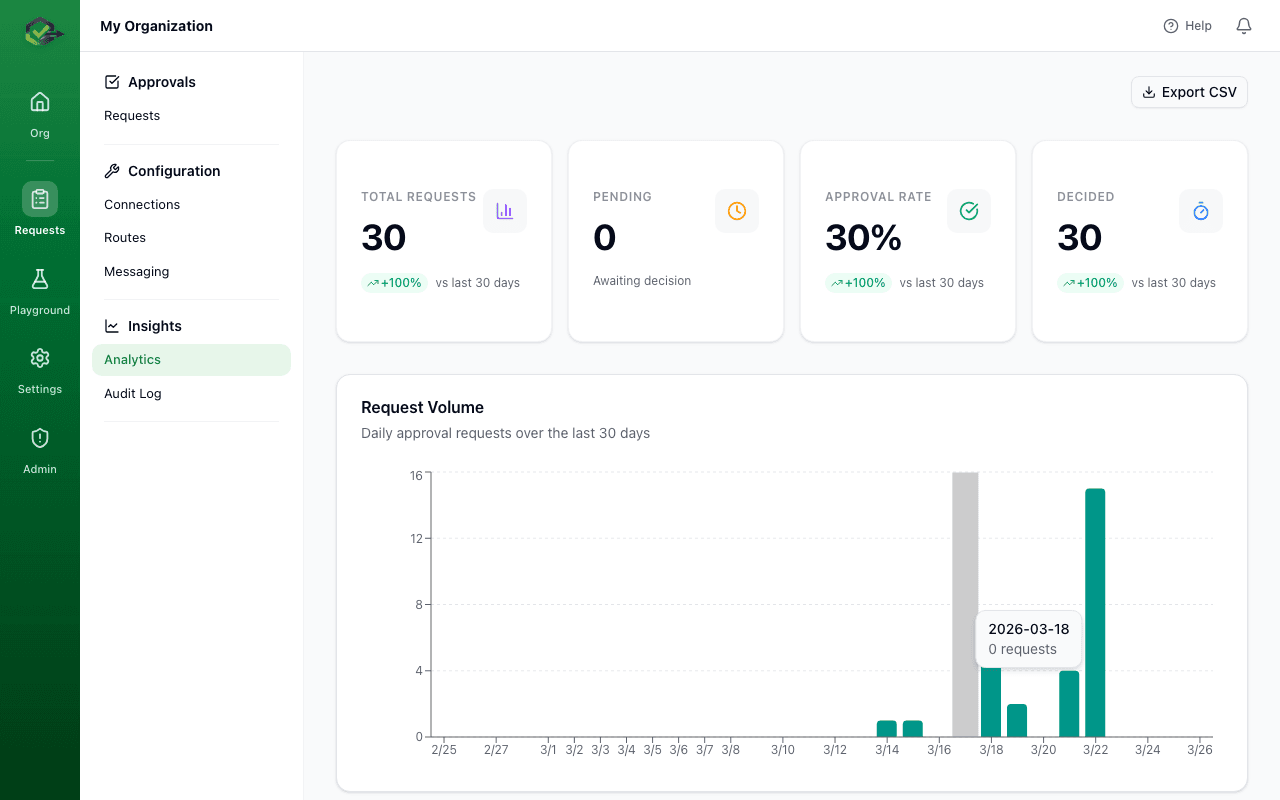
Analytics
Track approval volume, approval rate, and response time over the last 30 days with interactive charts.
Audit Log
Full history of every action — approvals, rejections, config changes, and more — with timestamps and actor attribution.
Next steps
Integrations
Connect OKRunit to Zapier, Make, n8n, GitHub Actions, and 15 more platforms with zero code.
API Reference
Full endpoint documentation with request/response examples for developers.
Webhooks
Learn how callbacks work, verify signatures, and handle retries.
Plans & Billing
Compare plans, usage limits, and enterprise features.